Three Easy Steps to configure DVR for your security analog camera
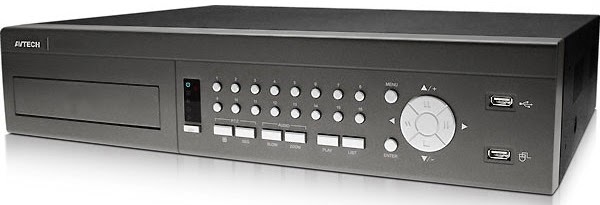
After mounting your camera, connect your cable to DVR (Digital Video Recorder). Interesting is that Analog camera is Plug and Play. So you don't have to do nothing special. Just connect the cable connector behind the DVR port and Start the DVR

System will initialize and password window will appear. Default password is 0000, click enter

Step 1:
Right click of mouse and you will get Menu

Select Quick Start. Then select General from left side.
Click
on Setup of Record Config from the right side

Record Config window will appear

* Channel – all
* Image
size - CIF/Field/ Frame (by default CIF (Common Intermediate Format), you can change it)
* I.P.S
– 400 (Image Per Second is fixed 400)
* Quality
– Super best / best / High / Normal (this is depends on your hard disk capacity). The more quality picture you want, the more space of Hard Disk you need.
Step 2:
Menu
(by right click of mouse)
Select Quick
Start -> Select Time Setup (from left)

Here we can change Date and Time. You must input correct date and time otherwise recording time will mismatch.
Step 3:
Again go to Menu by right click of mouse.
Select System -> Select System Info (from left)
Here
we must select Clean HDD for the
first time to start record
Configuration Done!!!!!
Now your device is ready to view your camera and record.
Related Post & Case Studies of DVR
* Connect your DVR in a Network (To view camera from Local PC or anywhere in the world)
* DVR Port Forwarding (In case of Public IP shortage)
Click image to go:


to share this page with your friends, select below

No comments:
Post a Comment